Map and compass
Read terrain, orient the map, and take a bearing.
Skill 3.13 · About 25 minutes to begin
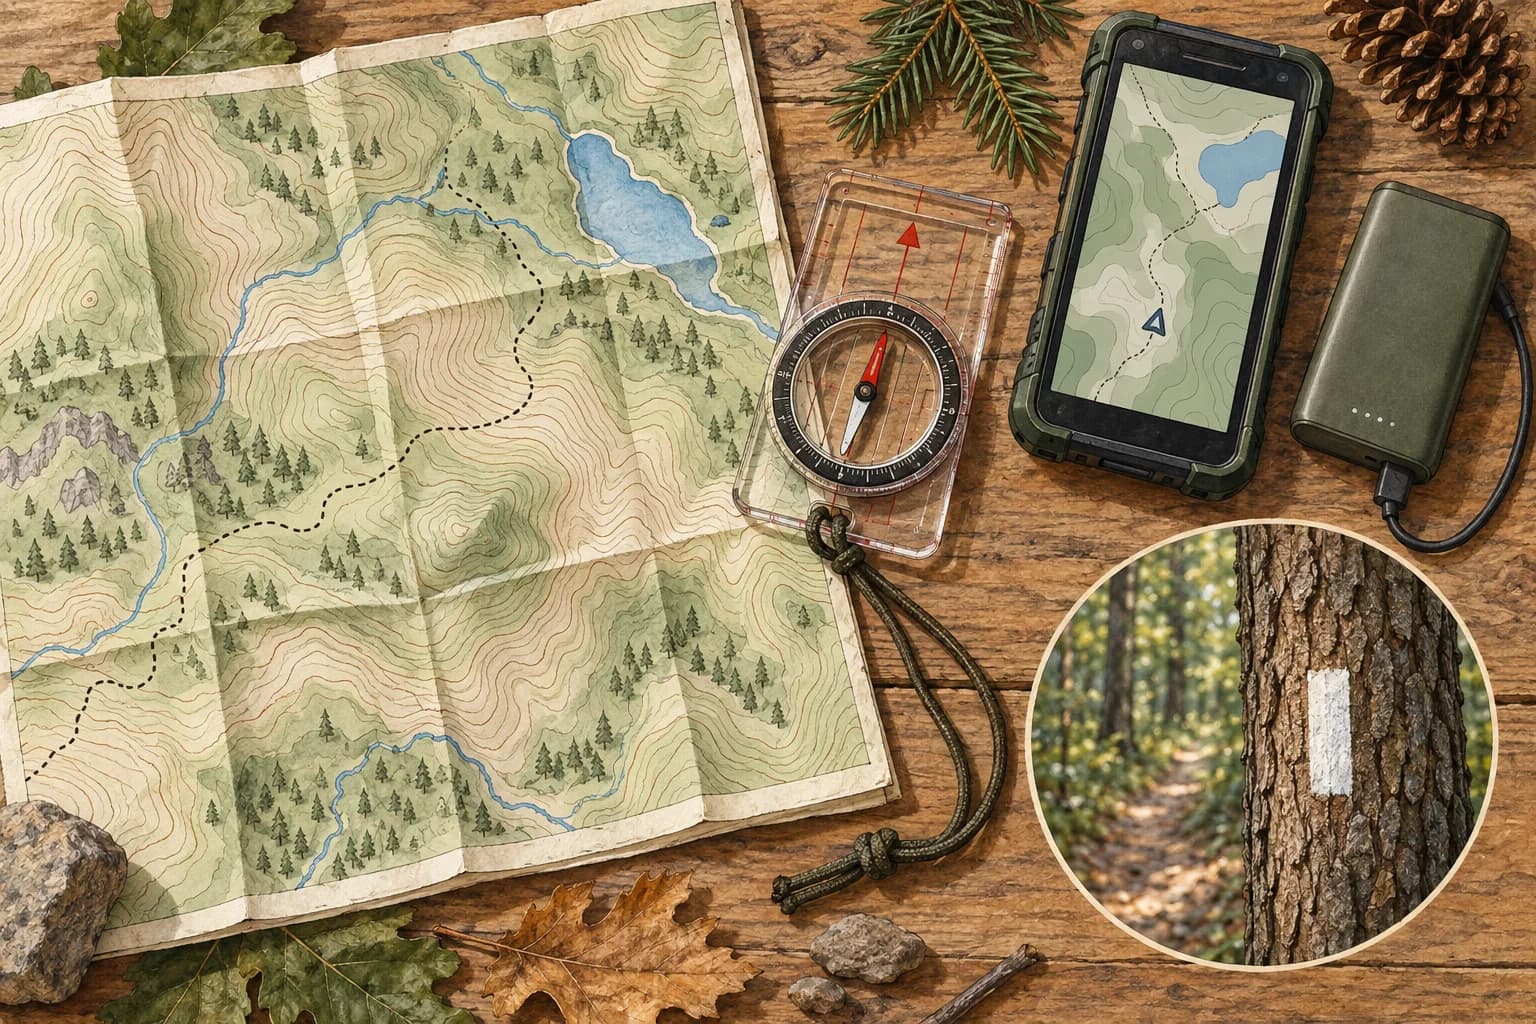
Phones fail. Paper maps and a compass still work when batteries die or screens crack.
Before you begin
Bring along
- Local map
- Compass
- Offline map and charged phone
Support & boundaries
Choose an age-appropriate task with your leader or trusted adult. Outdoor practice follows the approved route, buddy, and supervision plan; adapt the challenge to your abilities.
01 / Learn
Understand the skill
- Map scale shows distance; contour lines show steepness — close lines mean steep terrain.
- Orienting a map means turning it so north on the map matches north in the field.
- A bearing is a direction in degrees from north.
- Declination adjusts compass for true north vs. magnetic north — leaders provide local value.
- Always combine map, compass, and what you see on the ground.
Explore the idea
Read the shape of the land
For the same contour interval, wider spacing means a gentler slope. Always check the map's scale and contour interval.
02 / Practice
Try it, step by step
- 1
Identify trail junctions and landmarks on the map before you walk.
- 2
Practice taking a bearing to a visible object, then walk toward it with terrain checks.
- 3
Thumb your map — keep your thumb on your current location as you move.
- 4
If lost, STOP: stay put, observe, think, plan — then call leaders.
- 5
Protect map in a zip bag or case.
Watch & try
See it demonstrated
REI
How to use a compass
Identify the compass parts and discuss declination with your instructor before field practice.
Watch on YouTube ↗REI
How to read a topographic map
Compare contour spacing with the shape and steepness of the terrain.
Watch on YouTube ↗Common mistakes to avoid
- Walk farther until something looks familiar.
- Treating a successful practice attempt as permission to skip the supervision or checks for a real task.
Your call
The landmark does not match your assumed position. What next?
03 / Demonstrate
Show what you can do
Use these prompts with a mentor. This practice checklist resets when you leave; record your overall stage below in the signed-in manual.
0 of 3 reviewed together
Mentor notes & sources
Help someone learn
- Run a backyard or parking-lot compass course before forest practice.
- Pair members for map quizzes at trail junctions.
- Rotate navigator role every hour on trail.
Start together, then let the learner take responsibility at an appropriate level. Offer a shorter task, a different role, or more practice time when useful. Review the demonstration criteria together; advanced practice never removes supervision requirements.
Reference shelf
Original program lessons informed by these references. Equipment manuals, current local rules, and qualified instruction govern technical practice.
- REI: compass and map navigation ↗
Compass parts, declination and supervised navigation practice
- NOLS: expedition learning ↗
Outdoor learning, teamwork and reflection
Edition updated 2026-09-28. Program learning material; not a professional qualification.
04 / Apply · In Action
Know where you are
On an easy approved practice route, match a map to visible landmarks and orient it with a compass under instruction.
What success looks like
Point to your location and explain your next destination and a check landmark.
Talk it through
What would make you stop and recheck your location?
05 / Teach · Take it further
Coach a partner through the same short route.