Trail blazes and signs
Follow painted blazes, signs, and junction discipline.
Skill 3.15 · About 25 minutes to begin
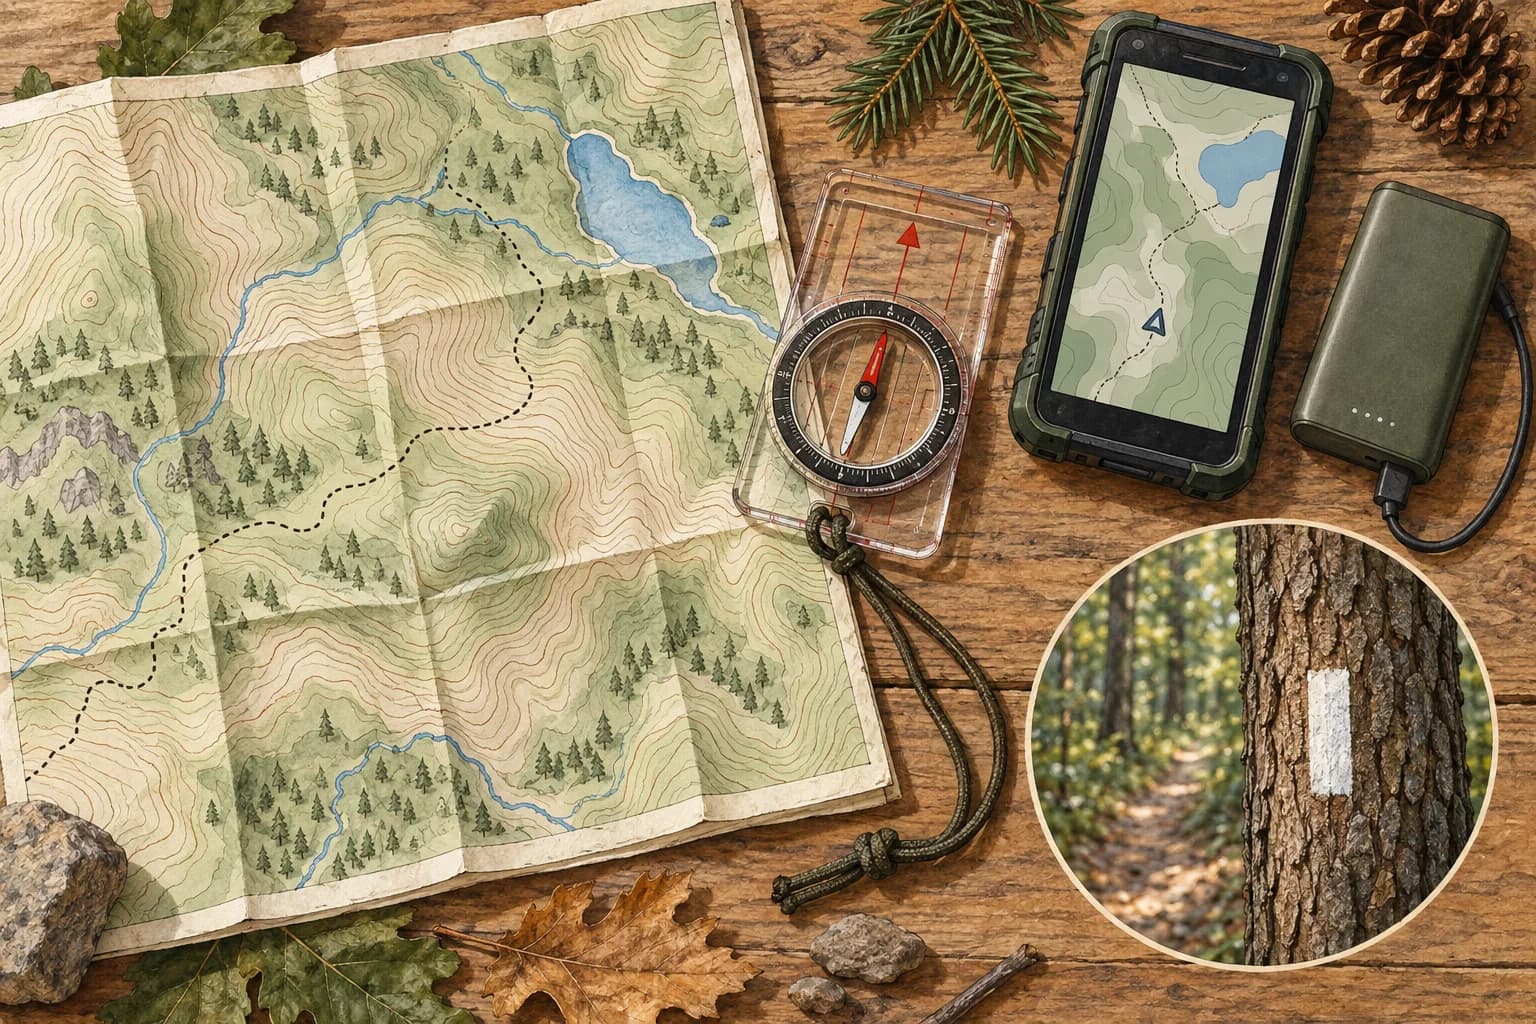
Blazes are the trail’s language. Learn the local colors and shapes before you hike.
Before you begin
Bring along
- Local map
- Compass
- Offline map and charged phone
Support & boundaries
Choose an age-appropriate task with your leader or trusted adult. Outdoor practice follows the approved route, buddy, and supervision plan; adapt the challenge to your abilities.
01 / Learn
Understand the skill
- Blaze color and shape mean a specific trail — know yours for the day.
- Two blazes stacked can mean turn or caution depending on local custom — ask leaders.
- Signs at road crossings may use different symbols than forest trails.
- False trails and social paths exist — stay with the marked route unless scouting with leaders.
- The Appalachian Trail uses white blazes in many sections — still confirm with your map.
Explore the idea
Read the shape of the land
For the same contour interval, wider spacing means a gentler slope. Always check the map's scale and contour interval.
02 / Practice
Try it, step by step
- 1
Confirm blaze color at the trailhead sign.
- 2
At every junction, wait for the group before choosing a fork.
- 3
If blazes disappear, backtrack to last known good marker.
- 4
Log junction decisions on a notepad for debrief.
- 5
Report missing or confusing signs to land managers through leaders.
Watch & try
See it demonstrated
REI
How to read a topographic map
Compare contour spacing with the shape and steepness of the terrain.
Watch on YouTube ↗Common mistakes to avoid
- Follow the freshest paint automatically.
- Treating a successful practice attempt as permission to skip the supervision or checks for a real task.
Your call
A blaze points away from the route you expected. What next?
03 / Demonstrate
Show what you can do
Use these prompts with a mentor. This practice checklist resets when you leave; record your overall stage below in the signed-in manual.
0 of 3 reviewed together
Mentor notes & sources
Help someone learn
- Quiz the crew at the first three junctions.
- Place a sweeper at the back so nobody misses a turn.
- Teach “halt at forks” as a crew habit.
Start together, then let the learner take responsibility at an appropriate level. Offer a shorter task, a different role, or more practice time when useful. Review the demonstration criteria together; advanced practice never removes supervision requirements.
Reference shelf
Original program lessons informed by these references. Equipment manuals, current local rules, and qualified instruction govern technical practice.
- REI: compass and map navigation ↗
Compass parts, declination and supervised navigation practice
- NOLS: expedition learning ↗
Outdoor learning, teamwork and reflection
Edition updated 2026-09-28. Program learning material; not a professional qualification.
04 / Apply · In Action
Read the trail together
At an approved trailhead, compare the posted map with markers on a short supervised walk.
What success looks like
Identify a junction and explain how you confirm the route beyond a single blaze.
Talk it through
What would you do when a marker seems inconsistent?
05 / Teach · Take it further
Explain one junction to a newer hiker before the group proceeds.