Sew on a button
Make a small repair that keeps a garment useful.
Skill 4.5 · About 25 minutes to begin
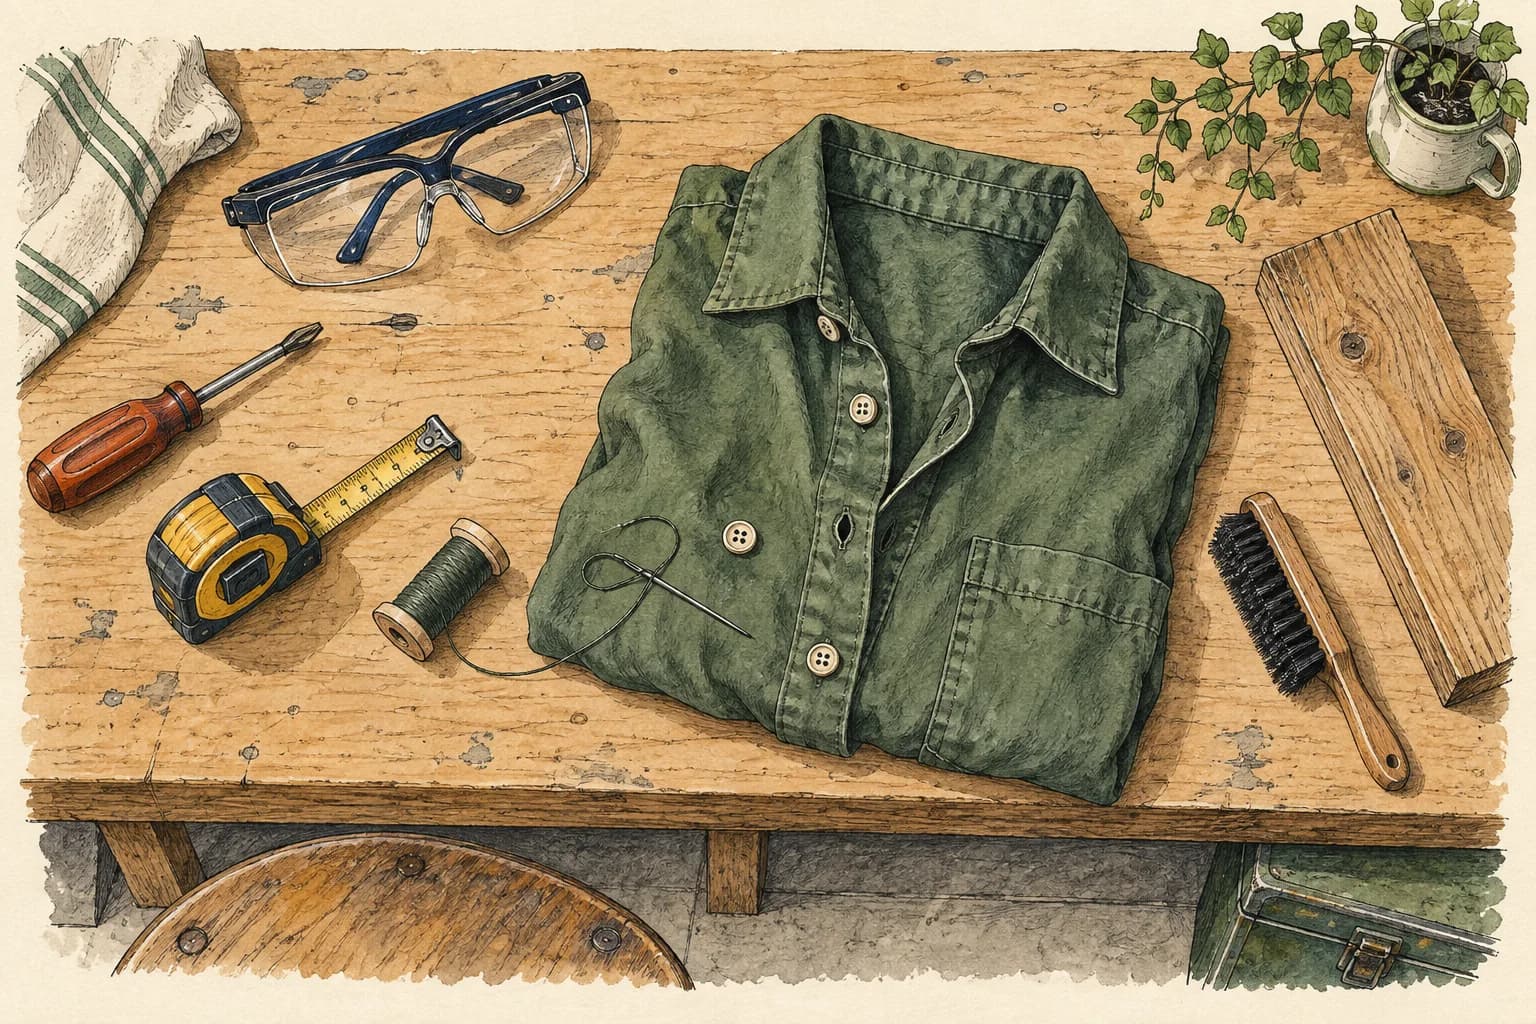
A missing button is a good first repair: inexpensive, visible, and useful. Practice on scrap fabric before working on a favorite shirt.
Before you begin
Bring along
- Approved hand tools or sewing kit
- Practice material
- Safe workspace
Support & boundaries
An adult approves the task and supervises heat, sharp tools, and equipment. Follow the exact equipment instructions. Stop if the task exceeds your training or permission.
01 / Learn
Understand the skill
- Match the replacement button to the buttonhole and nearby buttons.
- Keep needles and scissors in a container and count them back in afterward.
- Do not sew an item while someone is wearing it.
02 / Practice
Try it, step by step
- 1
Lay the garment flat, mark the button position, and choose a suitable button. Ask a mentor to demonstrate with scrap first.
- 2
Thread a manageable length through the needle and knot the thread end. Bring the needle up from the back at the marked point.
- 3
Pass through one button hole and down through the opposite hole into the fabric. Repeat several times; for four holes, repeat through the remaining pair.
- 4
Leave enough space for the fabric to button comfortably. Follow the mentor's demonstration for a small thread shank if the garment needs one.
- 5
Secure the thread with small stitches on the back, trim it, test the buttonhole, and store every sharp item.
Watch & try
See it demonstrated
Treasurie
Sew on a button
Watch how the button type changes the stitching, then practice on scrap fabric.
Watch on YouTube ↗Common mistakes to avoid
- Force it through to finish quickly.
- Treating a successful practice attempt as permission to skip the supervision or checks for a real task.
Your call
The new button is secure but will not pass through the hole. What next?
03 / Demonstrate
Show what you can do
Use these prompts with a mentor. This practice checklist resets when you leave; record your overall stage below in the signed-in manual.
0 of 3 reviewed together
Mentor notes & sources
Help someone learn
- Demonstrate slowly with a large button and contrasting thread.
- Let the learner undo and retry a stitch rather than completing it for them.
Start together, then let the learner take responsibility at an appropriate level. Offer a shorter task, a different role, or more practice time when useful. Review the demonstration criteria together; advanced practice never removes supervision requirements.
Reference shelf
Original program lessons informed by these references. Equipment manuals, current local rules, and qualified instruction govern technical practice.
- Art of Manliness: practical skills ↗
Topic inspiration; equipment manuals and qualified instructors govern technical practice
Edition updated 2026-09-28. Program learning material; not a professional qualification.
04 / Apply · In Action
Return a shirt to service
Attach a missing button to practice fabric, then repair an approved garment with supervision for sharps.
What success looks like
The button is secure, the buttonhole works, and all needles are accounted for.
Talk it through
What changed when you tested the fit before finishing?
05 / Teach · Take it further
Teach the repair using a large button and contrasting thread.